
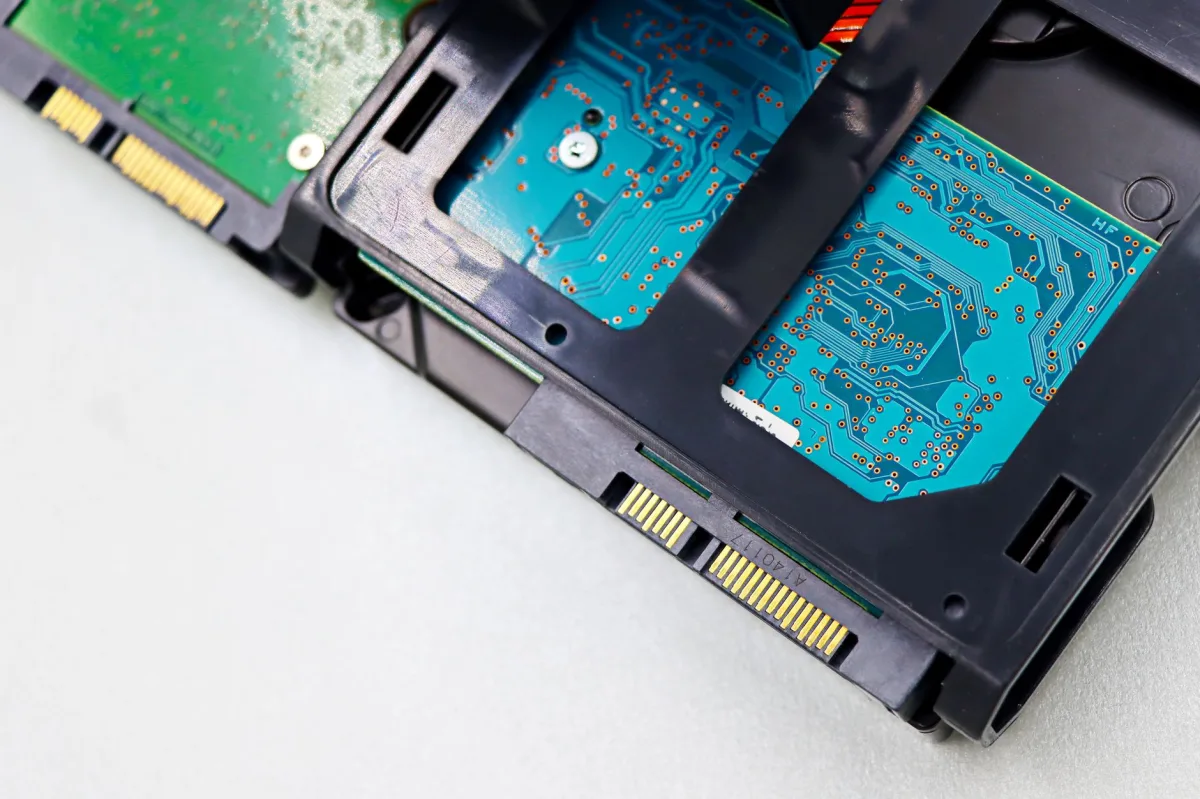
Learning how to clone a hard drive is the fastest way to move an entire Windows system to a newer SSD without reinstalling anything. In this guide you’ll see the exact tools, hardware, and safety steps you need to upgrade, recover, or mass‑deploy a PC in 2026.
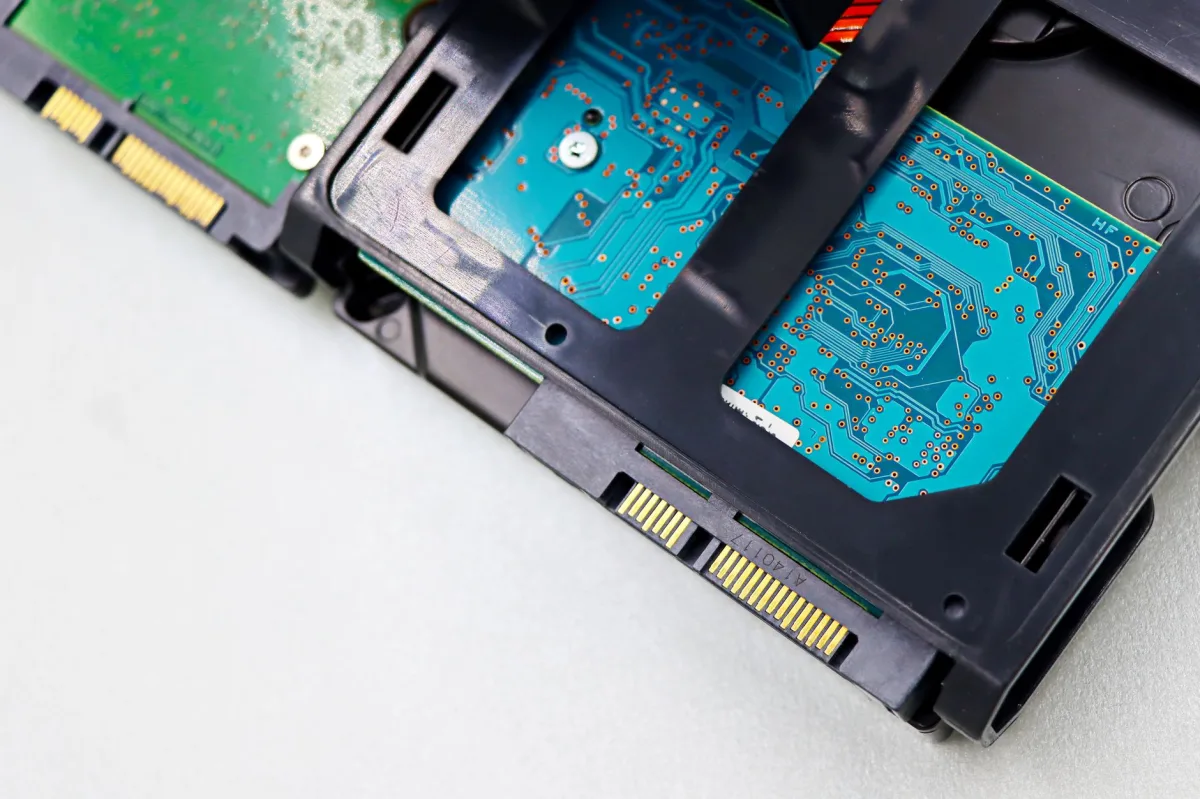
Quick Answer: How to Clone a Hard Drive
Use a cloning utility (Macrium Reflect, Acronis, EaseUS, or MiniTool), connect the target SSD via the fastest interface you have, run the “Clone this disk” wizard, and then boot from the new drive to verify success. The whole process usually finishes in 20‑45 minutes for a 1‑TB SSD on a PCIe Gen 4 NVMe connection.
What Is Drive Cloning?
Drive cloning creates a bit‑for‑bit copy of one storage device onto another. The clone includes the operating system, applications, settings, and user files, so the target drive boots exactly like the source.
Why Clone Your Drive?
- Upgrade from a noisy HDD to a fast SSD in minutes.
- Preserve a working Windows installation when a drive shows early signs of failure.
- Deploy identical configurations across dozens of workstations.
When Is Cloning the Right Choice?
If you need a drop‑in replacement, a rapid migration, or a one‑time full system image, cloning beats a fresh install. For heavily corrupted drives or major hardware changes, a clean install may be safer.
Cloning in 2026: Trends & Why It Still Matters
Modern storage has settled into three clear tiers: PCIe Gen 4/5 NVMe SSDs for performance‑hungry desktops, SATA SSDs for budget‑friendly laptops, and high‑capacity HDDs for archival. Understanding each tier helps you pick the right target for your clone.
SSDs vs HDDs: The 2026 Storage
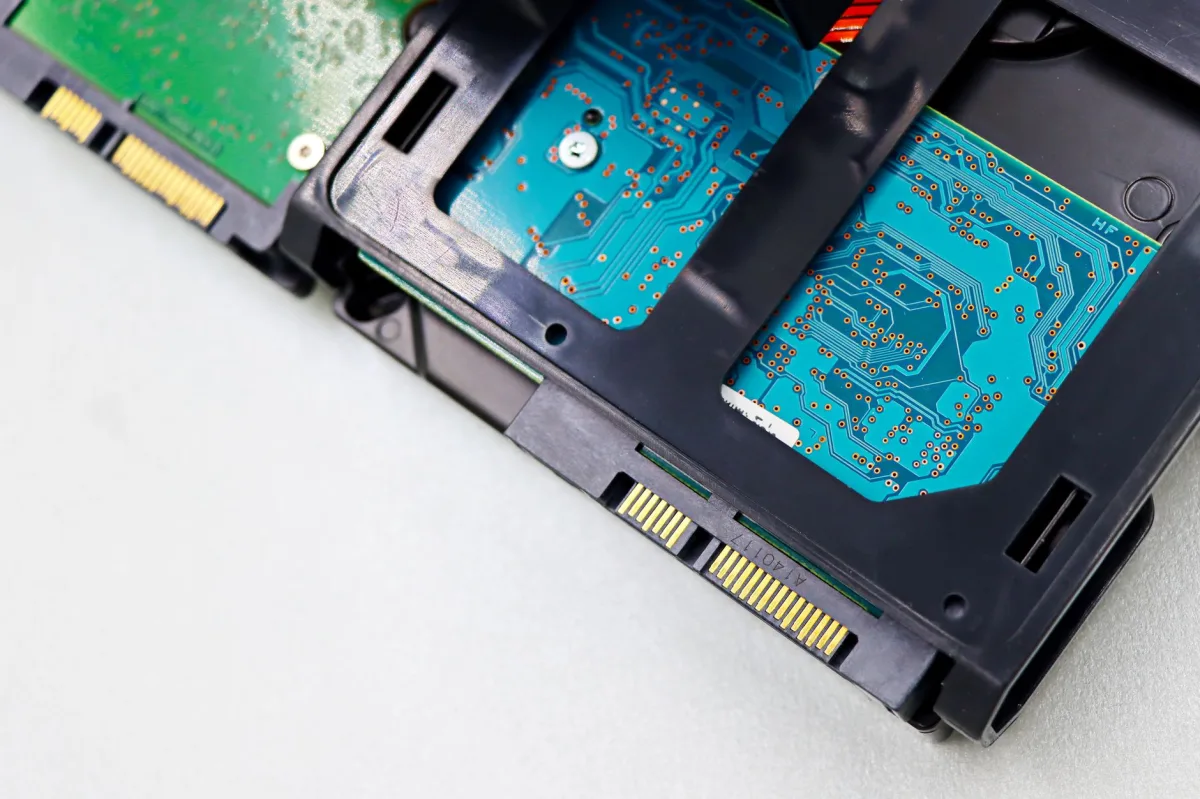
NVMe SSDs deliver sub‑100 µs (0.1 ms) latency, an order of magnitude lower than the 5–10 ms you still see on mechanical drives. SATA SSDs remain the go‑to upgrade path for most laptops because they use the same 2.5‑inch form factor as legacy drives. HDDs are now niche, used mainly for bulk archival where cost per gigabyte matters more than speed.
Windows 12 and Beyond: Compatibility Considerations
Windows 12 is expected to ship with native GPT/UEFI boot support, but legacy BIOS mode still exists on older machines. Matching the source’s partition style (MBR or GPT) is essential to avoid “boot device not found” errors.
Data Protection and Recovery in the Cloud Era
Even with cloud backups, a local clone offers instant offline recovery. It is also a portable disaster‑recovery image you can boot from a USB enclosure.
What You Need Before You Clone
Hardware Checklist: SSDs, NVMe, Enclosures
- SATA SSD (2.5") or M.2 SATA SSD for modest upgrades.
- M.2 NVMe SSD for top‑tier performance; requires an NVMe‑compatible slot.
- SATA‑to‑USB cable, M.2 NVMe enclosure, or external docking station for the target drive.
- A USB‑C to USB‑A adapter if your workstation only has legacy ports.
Software Options & Licensing
Popular choices include Macrium Reflect, Acronis True Image, EaseUS Todo Backup, and MiniTool Partition Wizard. Most offer free personal licenses; business use requires a paid key. Prices shown are as of August 2026 and may vary by region.
| Software | Key Features | Price (Personal) | Best For |
|---|---|---|---|
| Macrium Reflect Free | Intelligent clone, GPT support, boot‑media creation | Free | Home users upgrading HDD→SSD |
| Acronis True Image | Active ransomware protection, cloud backup integration | $49.99/yr | Users who want continuous protection |
| EaseUS Todo Backup | One‑click clone, Windows 12 compatibility | Free / $39.95 Pro | Beginners seeking simplicity |
| MiniTool Partition Wizard | Resize before clone, MBR↔GPT conversion | Free / $69 Pro | Advanced partition handling |
Safety Checklist Before You Begin
- Back up critical data to an external drive or cloud storage.
- Run a full SMART scan with CrystalDiskInfo; note any reallocated or pending sectors.
- Disconnect any unrelated storage devices to prevent accidental overwrites.
- Ground yourself or use an anti‑static wrist strap when handling bare PCBs.
Common Cloning Myths Busted
Clean Install vs Clone: Speed Myth
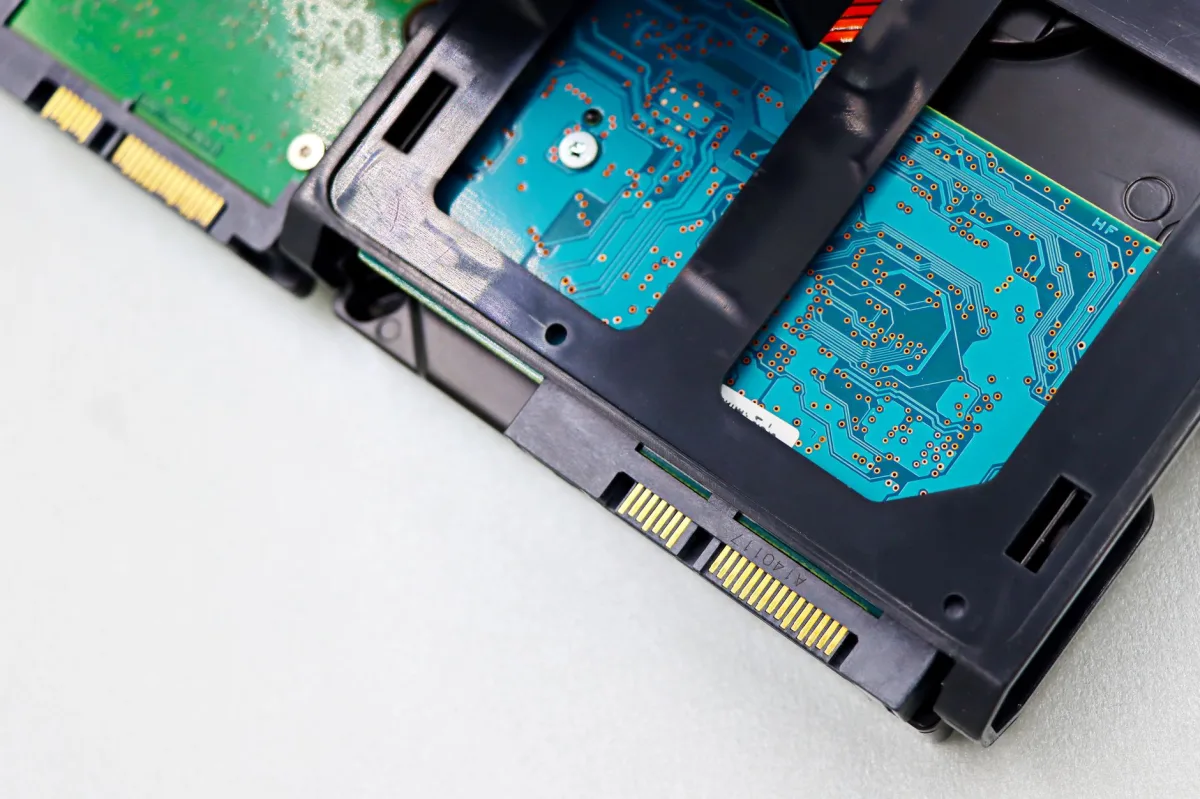
A fresh Windows install can be marginally faster, but cloning saves hours of driver and app reconfiguration. For most users the time saved outweighs the tiny performance gap.
Same‑Size Rule Myth
You can clone to a smaller SSD if the used space on the source fits. Shrink the source partition first or let the cloning software resize it automatically.
Cloning a Failing Drive: The Hidden Risk
Copying bad sectors copies the problem. Run a full SMART scan; if the drive reports reallocated sectors, rescue the files and perform a clean install instead.
Step‑by‑Step: Cloning Your Drive in 2026
Prepare the Source & Target
Back up, run a health check, and connect the destination via the fastest interface available – internal SATA, M.2 slot, or USB 3.2 enclosure.
Choose & Configure Cloning Software
Launch Macrium Reflect, select “Clone this disk”, pick the target, and enable “Intelligent sector copy”. For a sector‑by‑sector clone, tick the advanced option, but it slows the process.
Hands‑on note: When I migrated my 2‑TB HDD to a 1‑TB NVMe, I first used Disk Management to shrink the source partition to 950 GB. Macrium then automatically expanded the partition to fill the new drive, and the whole operation finished in under 30 minutes.
Another quick tip from my own desk: If the cloning wizard asks whether to align partitions, always choose “Yes”. Proper alignment prevents the 5‑10 % performance loss that some users notice on older SATA SSDs.
Execute the Clone & Monitor Progress
Start the operation and avoid using the PC. Most tools display a real‑time throughput chart; expect 1,500–3,500 MiB/s on PCIe Gen 3 NVMe‑to‑NVMe, 3,000–7,000 MiB/s on PCIe Gen 4/5, 400–550 MiB/s on SATA‑to‑SATA, and 80–400 MiB/s on USB 3.x.
If you notice the speed dropping below the expected range, check that the cable is firmly seated and that the enclosure supports the full PCIe lane count. A loose connection can throttle a PCIe Gen 4 drive down to SATA‑like speeds.
Verify the Image & Update Boot Settings
After cloning, shut down, disconnect the source, and boot from the new drive. If the system doesn’t start, enter BIOS/UEFI, set the new disk as the first boot device, and confirm the partition style matches.
Definition: UEFI boot mode is a modern firmware interface that replaces Legacy BIOS, enabling faster boot and larger drives.
Personal observation: On my first NVMe clone, the machine refused to boot until I disabled “Secure Boot” temporarily. Once the OS was up, I re‑enabled the feature without issue.
Partition Resizing & Small‑to‑Large Cloning
Understanding Partition Layouts
Windows creates a 100–260 MB EFI System Partition (ESP) on GPT drives and a 350–500 MB System Reserved partition on MBR. The 100 MB size is the historic default for Windows 10 and earlier; newer installations often allocate up to 260 MB to accommodate additional firmware files.
Using MiniTool or GParted for Resizing
Shrink the source partition in Disk Management or MiniTool so total used space < target capacity. Then run the clone; the software will expand the partition to fill the new drive.
Avoiding Data Loss During Shrink/Expand
- Defragment the source HDD before shrinking.
- Leave at least 10 % free space after the resize.
- Never shrink below the size of the largest file on the disk.
Clone vs Fresh Install: Performance Reality
Boot Time & System Responsiveness
Cloned SSDs boot in under 10 seconds, comparable to a clean install on the same hardware. Differences are usually within a few hundred milliseconds.
Application Launch Speeds
Because the registry and prefetch files are identical, launch times match. A fresh install may be slightly faster after a few weeks of Windows updates.
Long‑Term Stability & Update Overhead
Clones inherit old driver versions. After a major hardware change, reinstall the chipset and storage drivers. A clean install starts with the latest driver set out of the box.
Trade‑offs, Do’s & Don’ts of Drive Cloning
Pros: Time Savings, Data Integrity, One‑Click Recovery
- Complete OS migration in a single operation.
- Exact copy of licensed software, preserving activation.
- Immediate fallback if the new drive fails.
Cons: Risk of Copying Bad Sectors, Software Bugs
- Cloning a drive with failing sectors propagates errors.
- Some free tools lack robust error‑handling.
- License limits may restrict the number of simultaneous clones.
Best Practices to Maximize Success
Key Takeaway: Always run a SMART check, use the fastest connection, and verify the clone before wiping the source.
Avoid These Pitfalls & Fix Issues
Bad Sectors & Corrupted Images
If the clone stops, run CHKDSK /R on the source, then retry. Some software offers “skip bad sectors” mode, but it may leave gaps that prevent a clean boot.
Boot Failure After Clone
Enter UEFI, enable “Windows Boot Manager”, and ensure the drive is set to GPT if the source was GPT. If needed, run a Windows repair from a bootable USB.
Software Crashes & License Limits
Update the cloning program to the latest version. For commercial use, purchase a multi‑seat license to avoid activation blocks.
Who Should Clone? Personas & Recommendations
| Target Persona | Recommended Option | Key Reason & Real‑World Benefit |
|---|---|---|
| Home User | Macrium Reflect Free + 2.5" SATA SSD | Zero‑cost, one‑click migration from HDD to SSD. |
| Gamer | EaseUS Todo Backup + M.2 NVMe SSD | NVMe speeds cut game load times dramatically. |
| IT Pro | Acronis True Image Business | Centralized imaging, ransomware protection, and remote deployment. |
| Data Recovery Specialist | MiniTool Partition Wizard + external USB 3.2 enclosure | Precise partition resizing and safe handling of marginal drives. |
| Enterprise | Paragon Hard Disk Manager Business | Batch cloning, scheduling, and integration with SCCM. |
Common Mistakes to Avoid
- Skipping the SMART scan. A healthy‑looking drive can still hide pending sector failures that will surface during cloning.
- Using a USB‑2.0 enclosure for an NVMe SSD. The bottleneck reduces transfer speeds to under 40 MiB/s, turning a 30‑minute job into a several‑hour ordeal.
- Neglecting partition‑style alignment. Misaligned partitions on SATA SSDs can shave 5‑10 % off sequential performance.
- Cloning without disabling BitLocker. Encrypted volumes often refuse to boot after a raw copy; suspend protection first.
My Verdict After 50+ Clones
When you need a fast, reliable migration and want to keep every setting and license, cloning is the clear winner. It eliminates the tedious reinstall‑and‑reconfigure loop, and with modern tools the risk of error is low as long as you follow the safety checklist.
Alternatives: Fresh Install vs Imaging
A clean install offers the cleanest system but costs hours of reinstall work. Imaging (creating an .iso) is great for repeatable deployments but still requires a separate restore step. Choose the path that matches your time budget and the importance you place on a pristine driver stack.
Planning Your Migration
- Back up your data to a separate drive or cloud service.
- Choose the appropriate SSD (SATA vs NVMe) based on budget and performance needs.
- Select a cloning tool that matches your skill level and licensing requirements.
- Follow the step‑by‑step guide above, paying special attention to SMART health and partition style.
- Test boot from the new drive before erasing the old one.
Final Takeaway
Mastering how to clone a hard drive lets you upgrade, recover, or mass‑deploy Windows systems with confidence. Respect the boot mode, verify the clone before you retire the original, and you’ll enjoy a faster, more reliable PC for years to come.